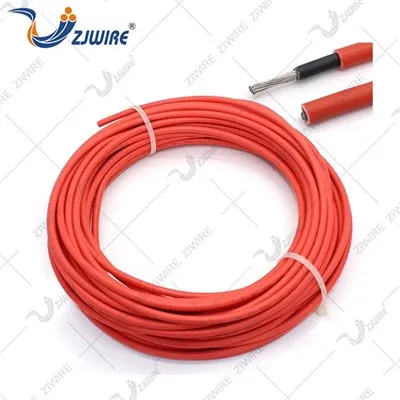
How to Connect PVC Insulated Single Core Cable
As a supplier of PVC insulated single core cables, I've seen firsthand the importance of proper cable connection. Whether you're a professional electrician or a DIY enthusiast, understanding how to connect these cables correctly is crucial for safety and optimal performance. In this blog post, I'll guide you through the process of connecting PVC insulated single core cables, step by step.
Understanding PVC Insulated Single Core Cables
PVC (Polyvinyl Chloride) insulated single core cables are widely used in various electrical applications due to their excellent insulation properties, flexibility, and affordability. These cables consist of a single conductor covered with a PVC insulation layer, which provides protection against electrical shocks and short circuits. They come in different sizes and ratings to suit different electrical requirements.
Some common types of PVC insulated single core cables include UL1007 Cable, UL1333 Cable, and UL2468 Cable. Each type has its own specific characteristics and applications, so it's important to choose the right cable for your project.
Tools and Materials Needed
Before you start connecting PVC insulated single core cables, you'll need to gather the necessary tools and materials. Here's a list of what you'll need:
- Cable cutters: Used to cut the cable to the desired length.
- Wire strippers: Used to remove the insulation from the cable ends.
- Soldering iron and solder: Used to join the cable conductors together.
- Heat shrink tubing: Used to insulate the connection and provide additional protection.
- Electrical tape: Used to secure the heat shrink tubing and provide extra insulation.
- Terminal connectors: If you're using terminal connectors, you'll need the appropriate crimping tool.
Step-by-Step Guide to Connecting PVC Insulated Single Core Cables
Now that you have all the necessary tools and materials, let's walk through the process of connecting PVC insulated single core cables.
Step 1: Prepare the Cables
- Measure and cut the cables to the desired length using cable cutters. Make sure to leave enough length for the connection.
- Strip the insulation from the cable ends using wire strippers. The length of the stripped section will depend on the type of connection you're making. For a soldered connection, strip about 1/2 inch of insulation from each cable end.
- Twist the exposed conductors together to ensure a good electrical connection.
Step 2: Solder the Connection


- Heat the soldering iron and apply a small amount of solder to the tip.
- Place the soldering iron on the twisted conductors and apply a small amount of solder to the joint. Make sure the solder flows evenly around the conductors and forms a solid connection.
- Remove the soldering iron and let the solder cool.
Step 3: Insulate the Connection
- Slide a piece of heat shrink tubing over the soldered connection. Make sure the tubing is long enough to cover the entire connection and extends a little beyond each end.
- Use a heat gun or a lighter to heat the heat shrink tubing. As the tubing heats up, it will shrink and conform to the shape of the connection, providing a tight seal.
- Once the tubing has cooled, wrap a layer of electrical tape around the connection for extra insulation.
Step 4: Use Terminal Connectors (Optional)
- If you're using terminal connectors, slide the stripped cable end into the connector and use a crimping tool to secure the connection.
- Make sure the connector is properly crimped and provides a good electrical connection.
- Slide a piece of heat shrink tubing over the connector and heat it to shrink the tubing and provide insulation.
Safety Precautions
When working with electrical cables, it's important to take the necessary safety precautions to avoid electrical shocks and other hazards. Here are some safety tips to keep in mind:
- Turn off the power: Before you start working on any electrical circuit, make sure to turn off the power at the main switch or circuit breaker.
- Use insulated tools: Make sure to use insulated tools to avoid electrical shocks.
- Wear protective gear: Wear safety glasses and gloves to protect yourself from electrical shocks and other hazards.
- Follow the manufacturer's instructions: Make sure to follow the manufacturer's instructions when using any tools or materials.
Conclusion
Connecting PVC insulated single core cables is a relatively simple process, but it's important to do it correctly to ensure safety and optimal performance. By following the steps outlined in this blog post and taking the necessary safety precautions, you can connect PVC insulated single core cables with confidence.
If you're in the market for PVC insulated single core cables, we're here to help. As a leading supplier of high-quality cables, we offer a wide range of products to meet your needs. Contact us today to learn more about our products and services and to discuss your specific requirements.